This article guides you through the full signing workflow in DiliTrust Sign — from launching a signature request to receiving the completed, signed version. It covers all actions available to the sender of a signing request.
⚠️ Before you start
- Your document must be ready to sign — no further edits are possible once the request is sent
- You will need the full name and email address of each signatory
- For SMS identification, you will also need each signatory's mobile number
- DiliTrust Sign operates at the SES level. If your document requires AES or QES, use a third-party provider via the e-Signature hub
Launch a signature request
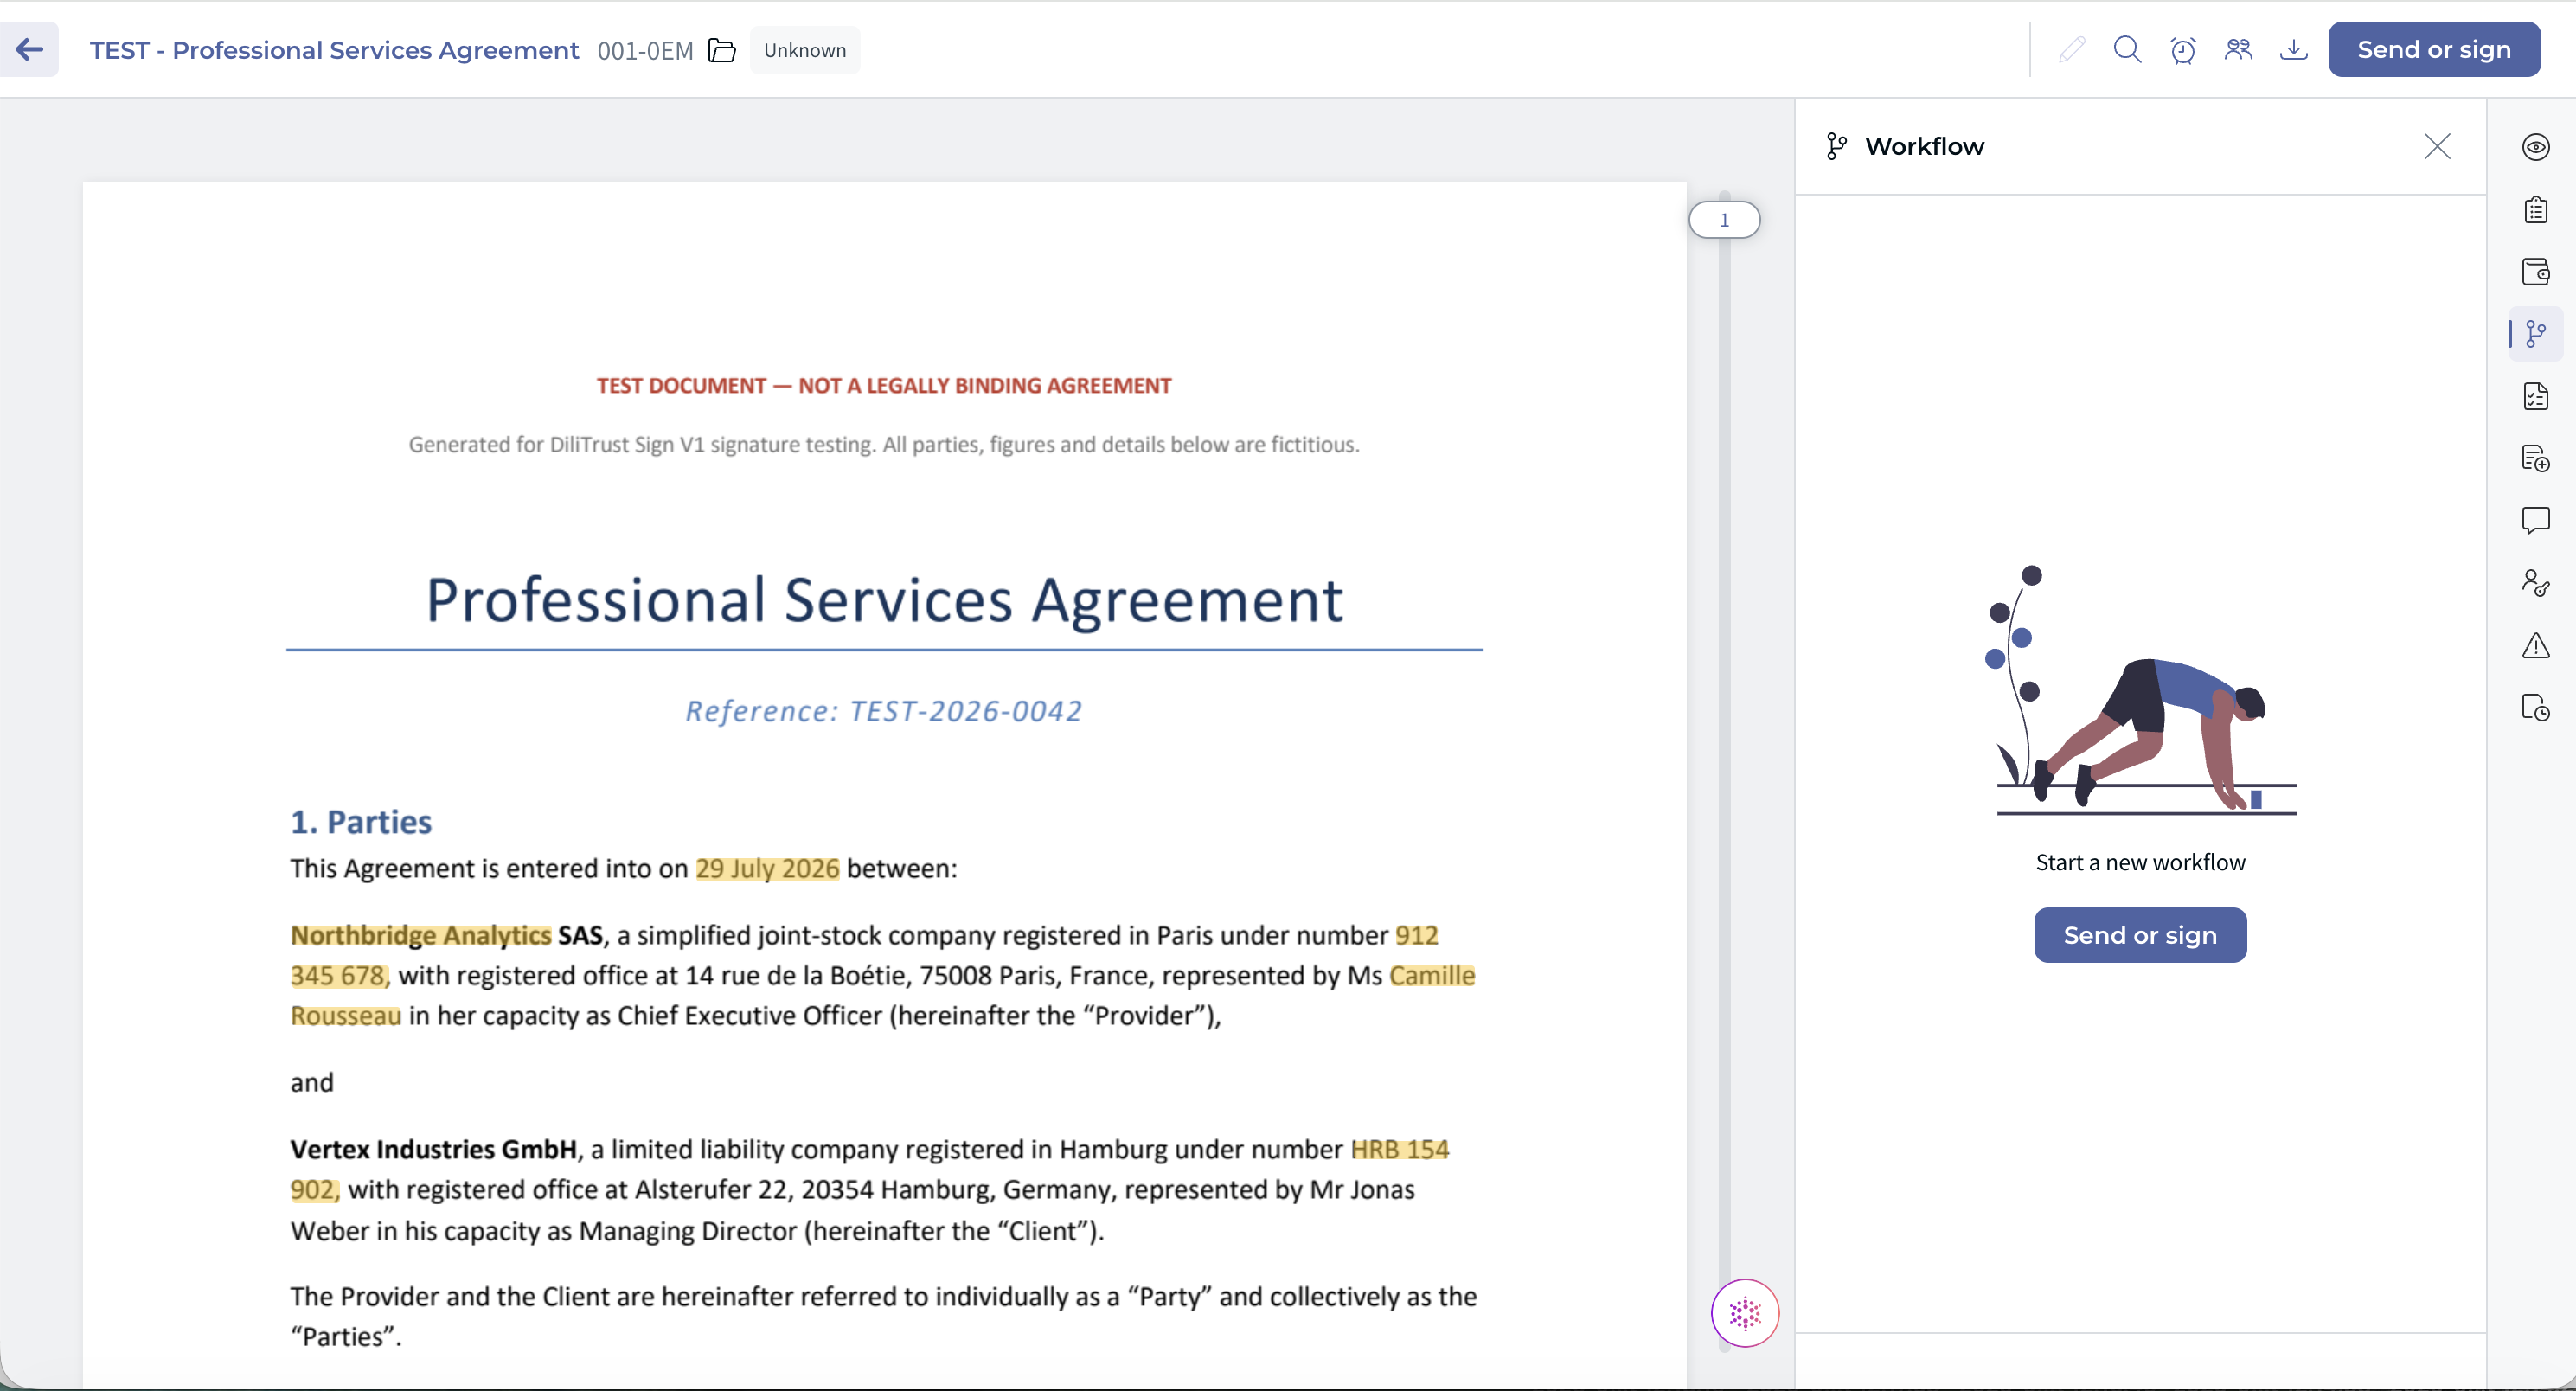
Open the document you want to send for signature, then click Send or sign. This button is available:
- at the top right of the document view, or
- from the Workflow side panel, under Start a new workflow
The Set your signature process wizard then guides you through 4 steps.
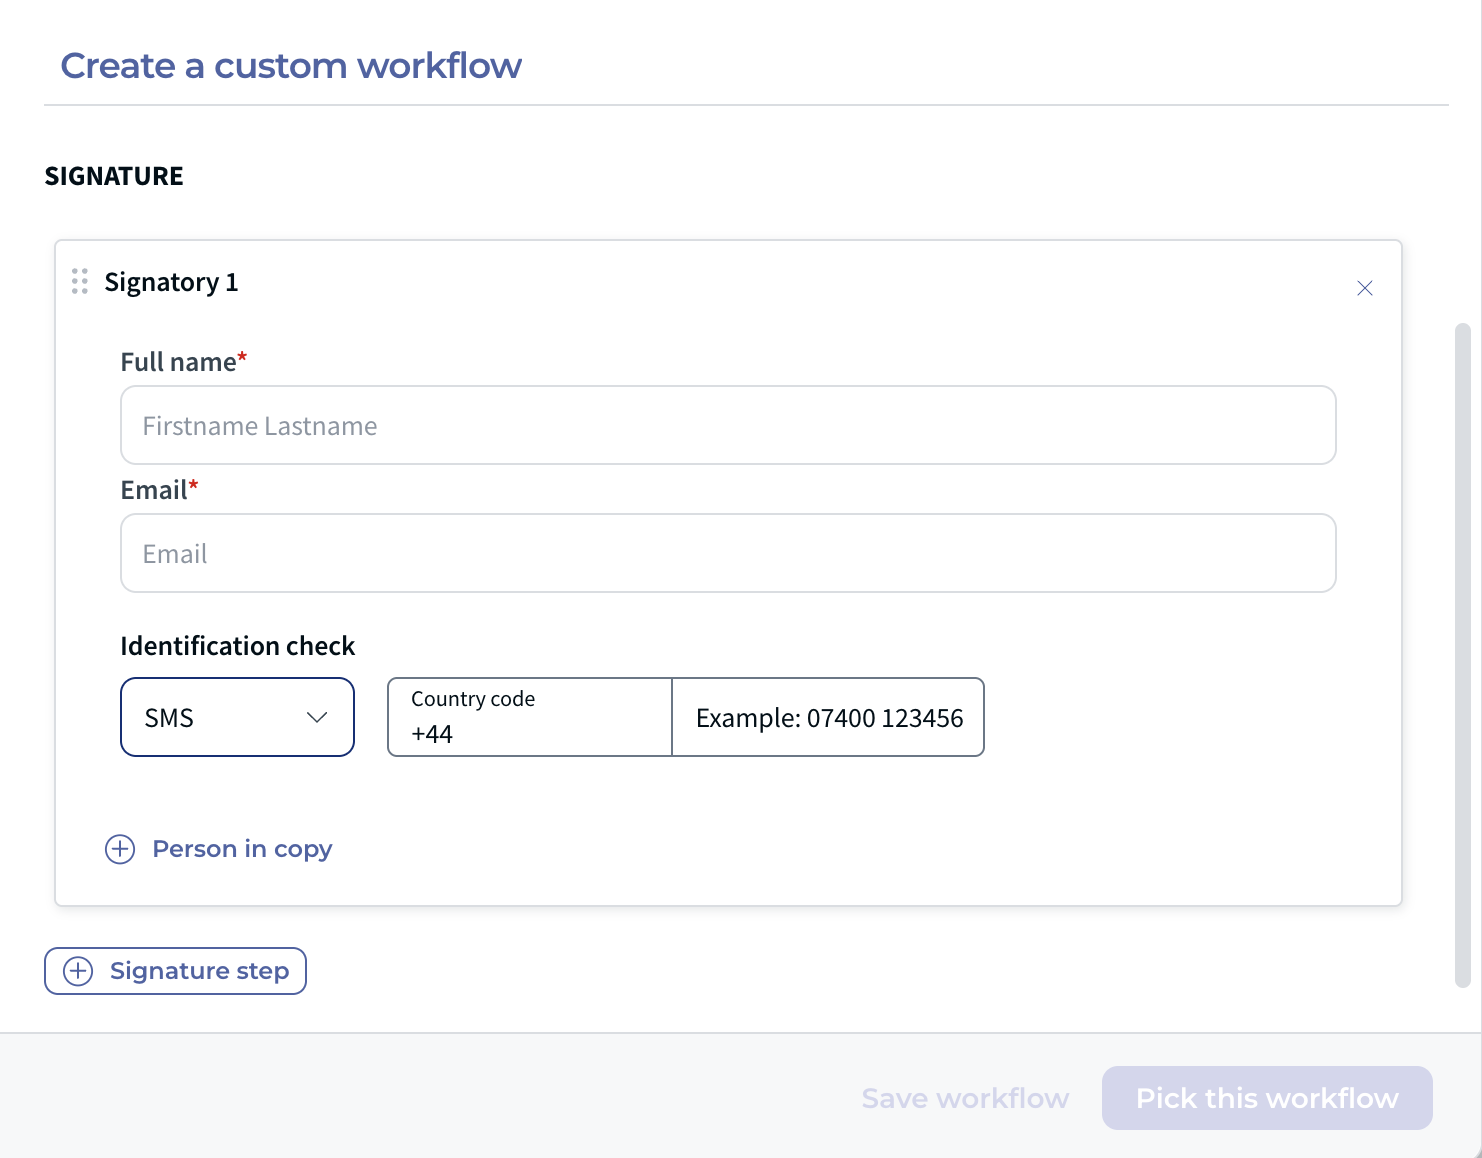
1️⃣ Step 1 — Your signatories
Define who needs to act on the document. For each signatory, provide:
- Full name (required)
- Email (required)
- Identification check— choose how the signatory's identity is verified:
- Disabled (default) — the signatory accesses the document though the secure link received by email
- SMS — the signatory receives a one-time code by SMS before signing. Select the country code and enter the mobile number
You can also:
- Add a recipient in copy (CC) — click "Person in copy" and enter their full name and email. Recipients in copy receive the document but are not required to sign
- Add more signatories — add as many signatories as needed and reorder them
- Set the signing order — enable the "Signatories sign one after the other" toggle if signatories must sign sequentially. When disabled, all signatories are notified at the same time
Click Next.
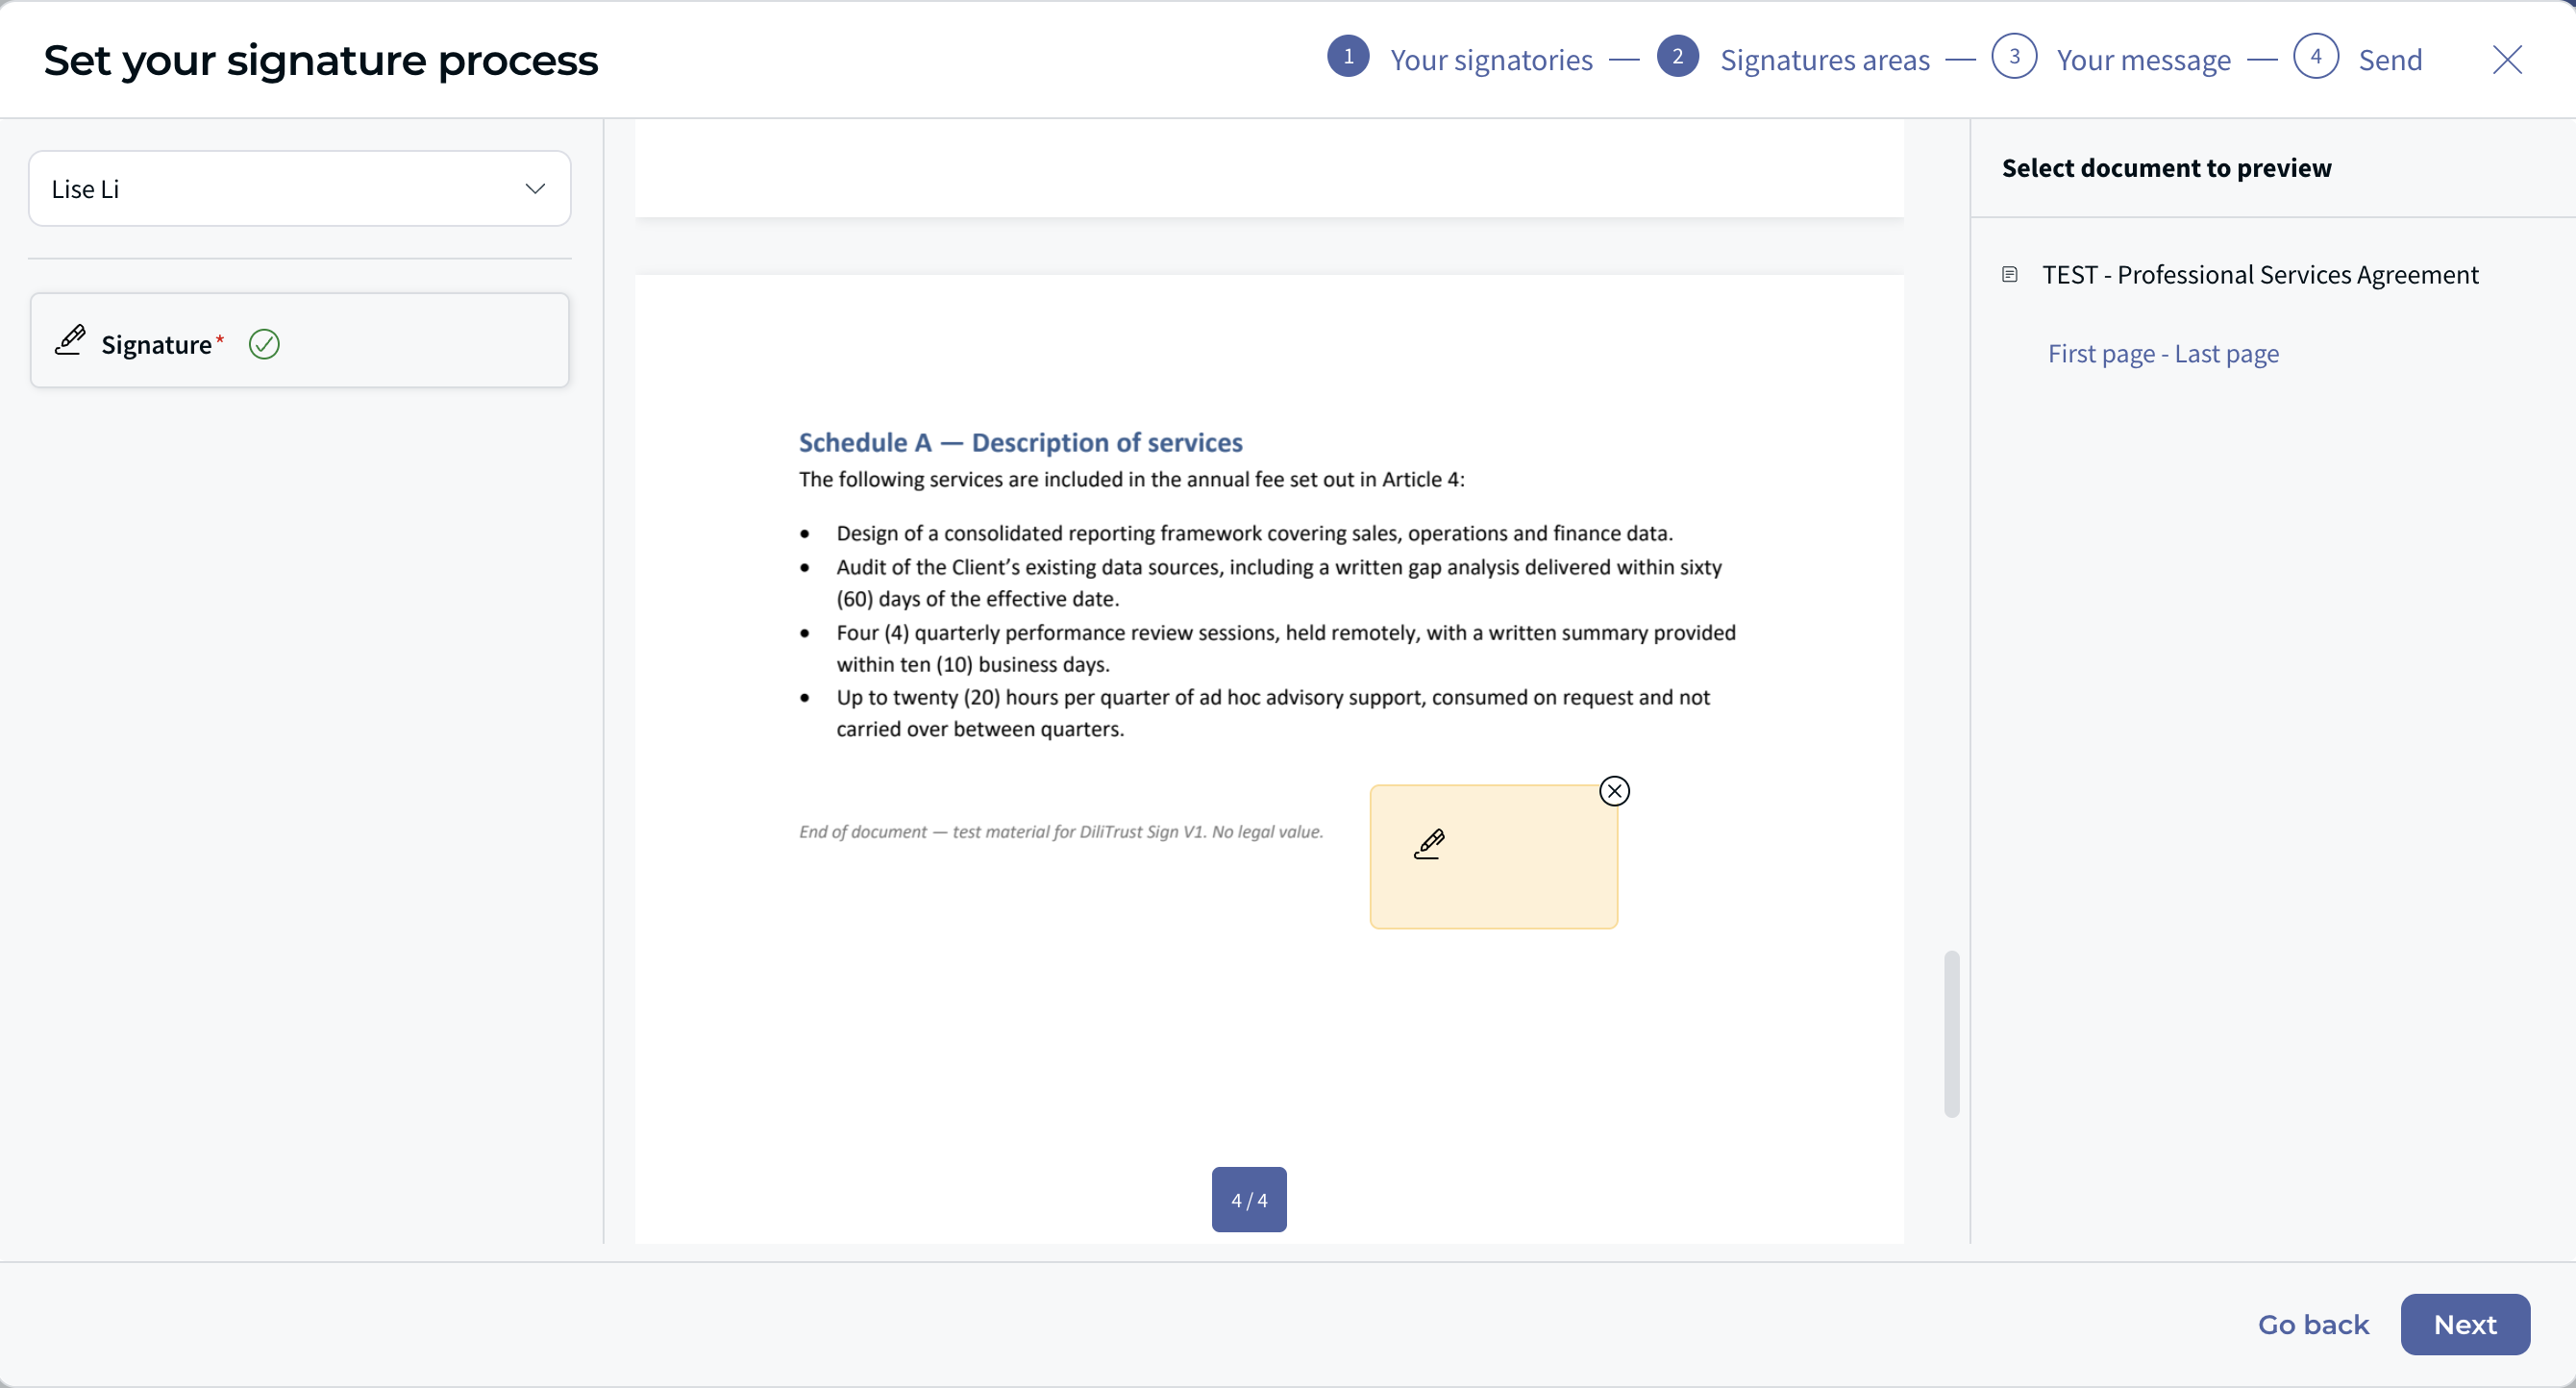
2️⃣ Step 2 — Signatures areas
Position the signature areas on the document.
- Select a signatory from the dropdown at the top left
- Place their Signature area on the document
- Repeat for each signatory
Click Next.
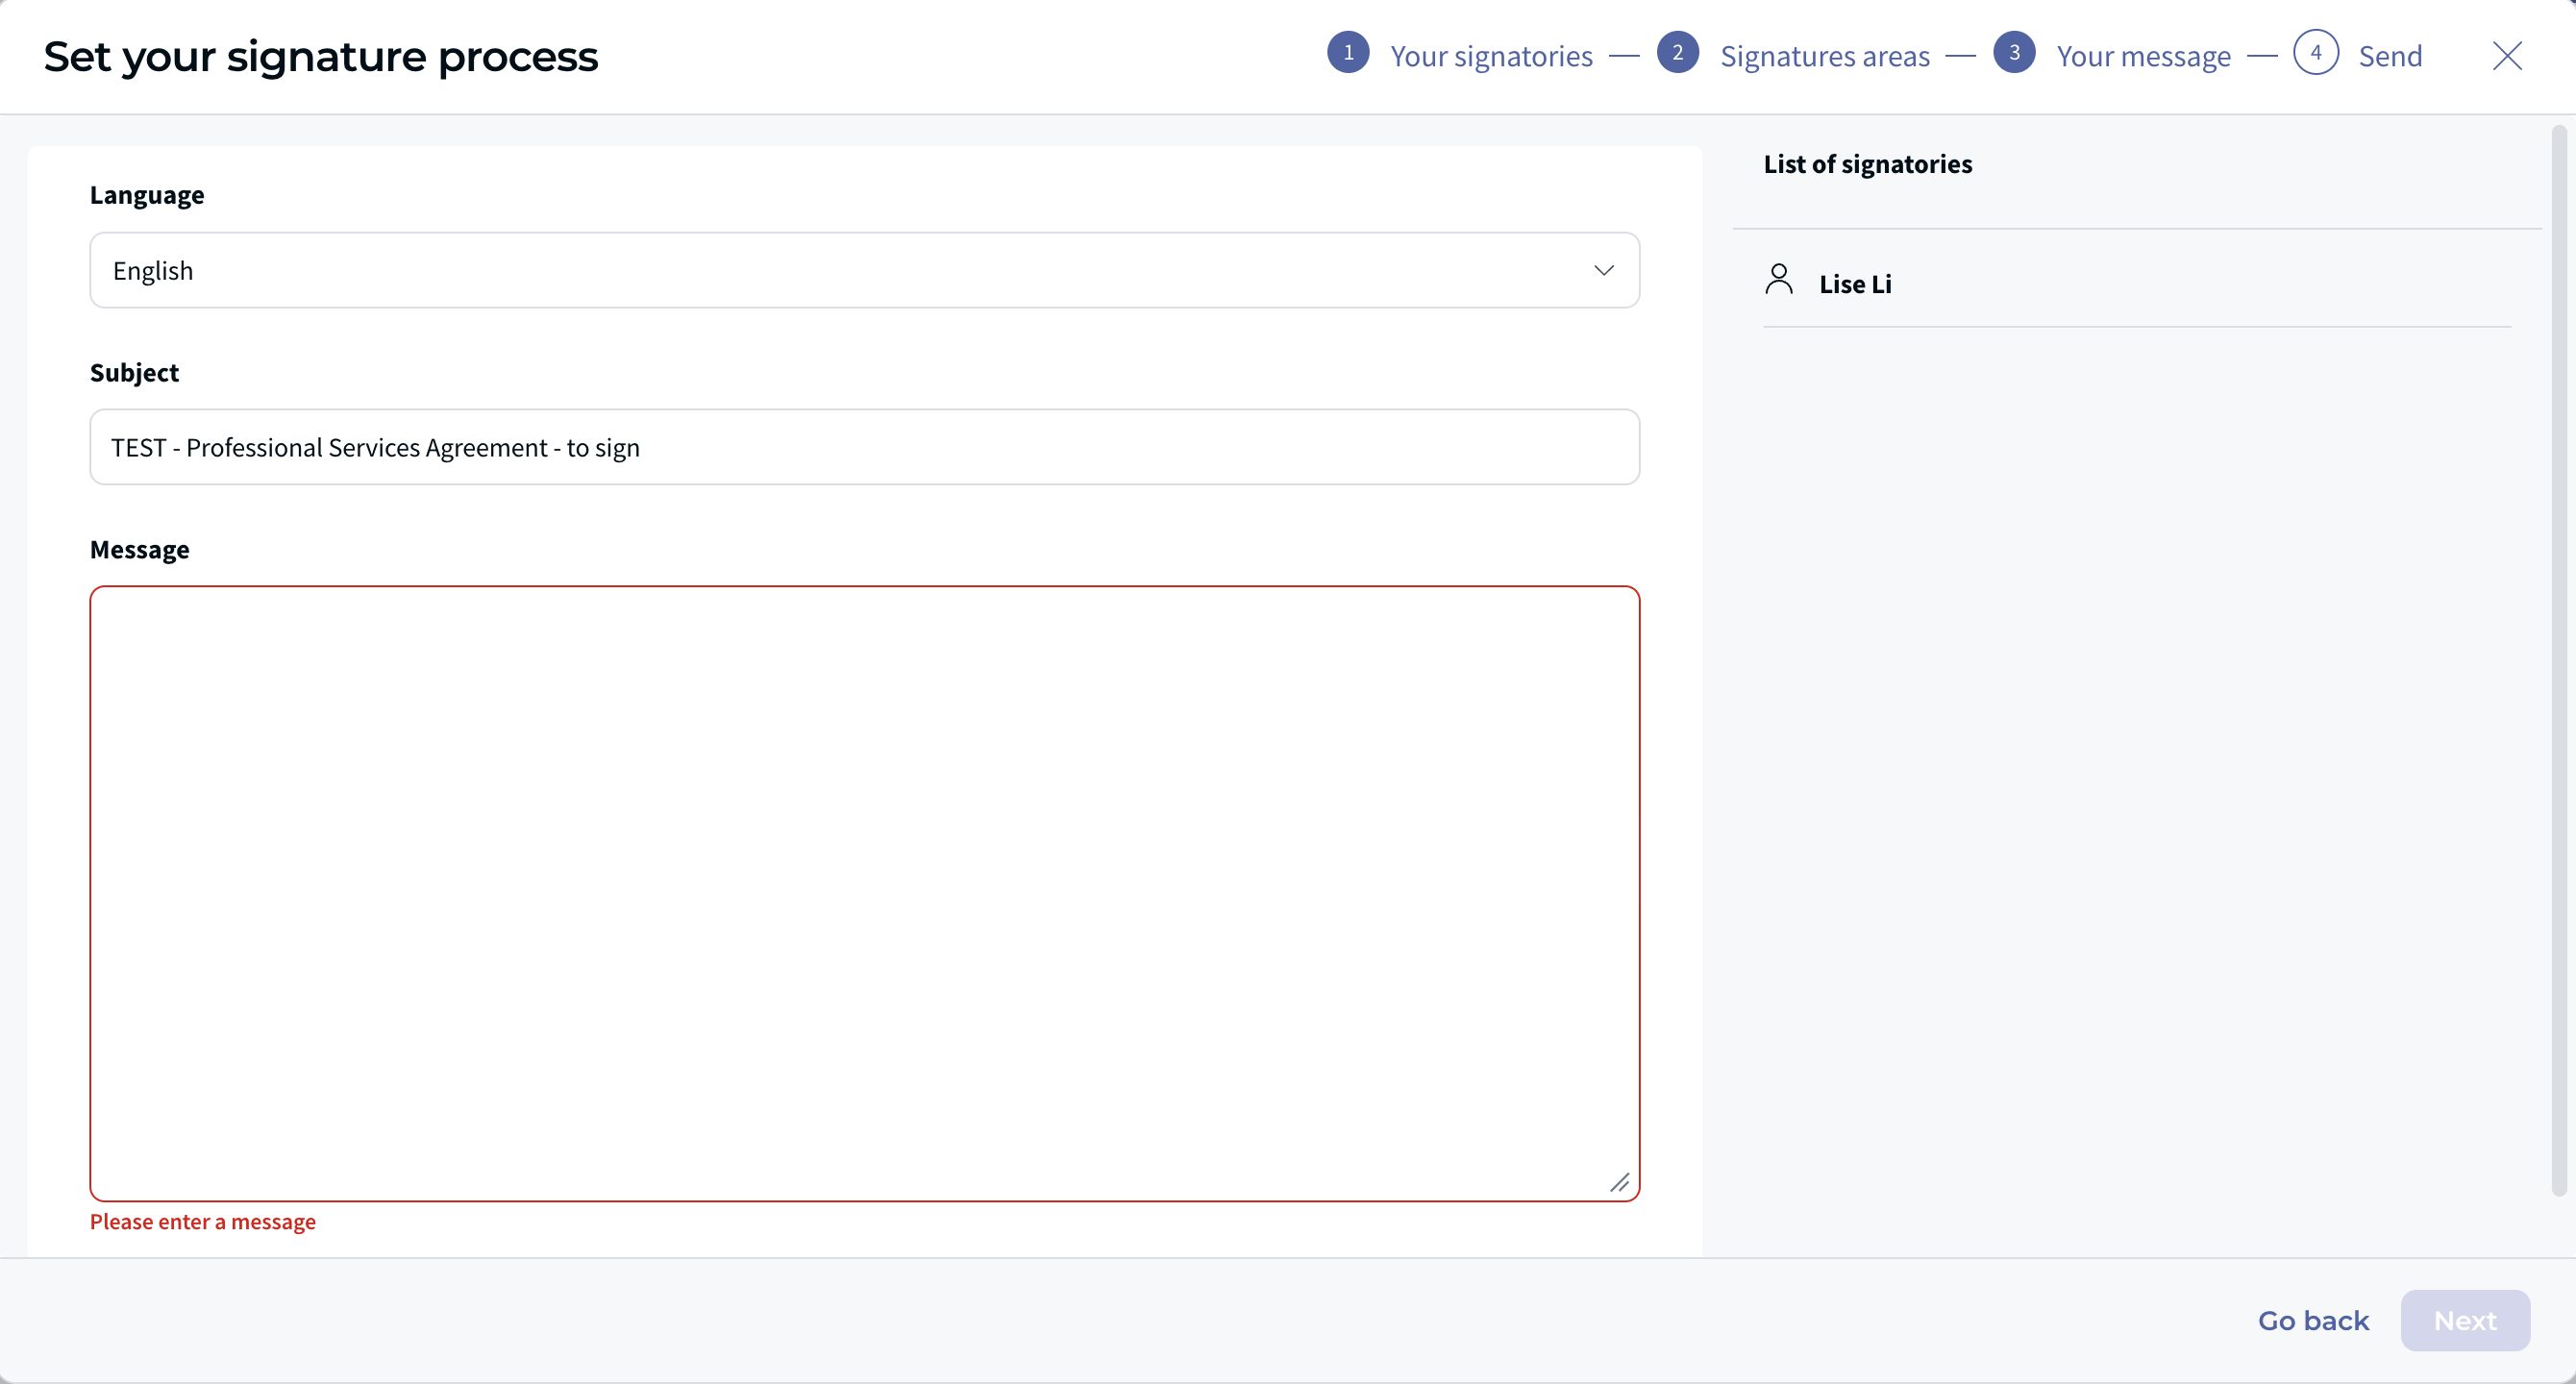
3️⃣ Step 3 — Your message
Customise the email your signatories will receive.
- Language — the language of the notification email
- Subject — pre-filled with the document name followed by "to sign". You can edit it
- Message — required. Add a note giving context or instructions to your signatories
The List of signatories panel on the right recaps who will receive the email. The Next button stays inactive until a message has been entered.
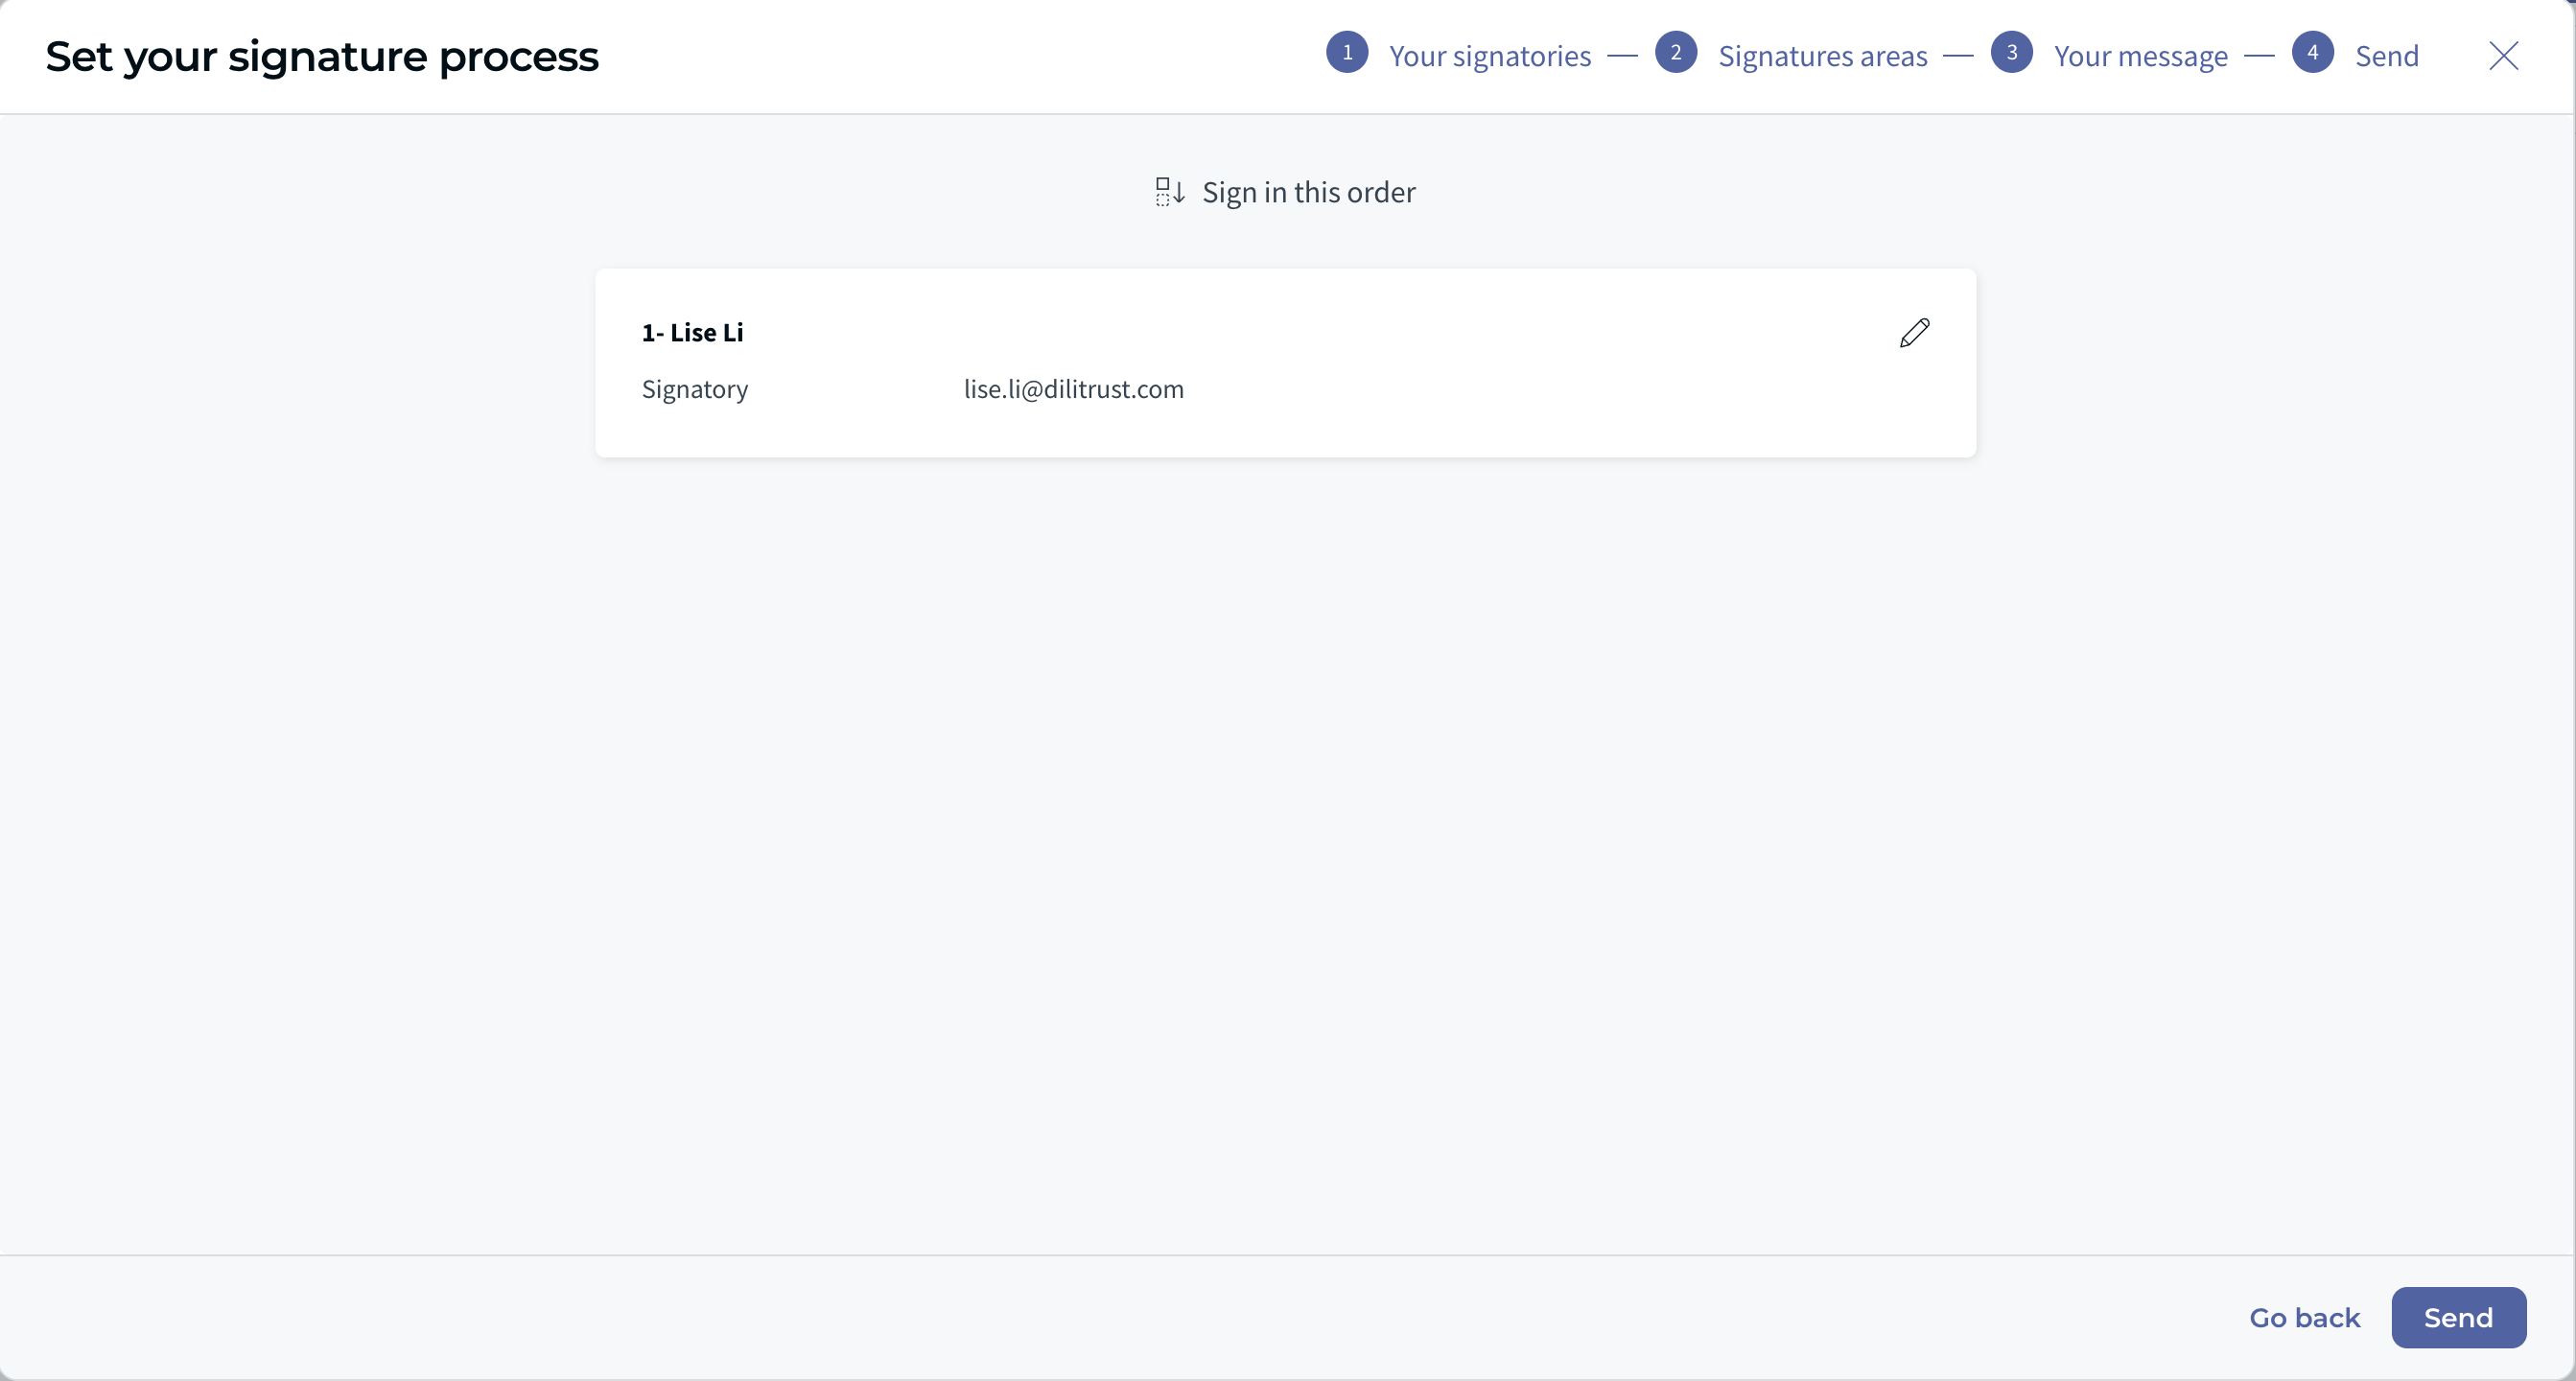
4️⃣ Step 4 — Send
A final recap displays the signatories in their signing order, under Sign in this order. Use the pencil icon to make a last correction, or Go back to review the previous steps.
Click Send. Each signatory receives an email notification with a secure link to their signing request.
⚠️ Once sent, the document is locked and cannot be modified.
→ See the dedicated article to learn how to sign a document with DiliTrust Sign.
Track your envelope
After sending, monitor the status of your signing request from the envelope dashboard:
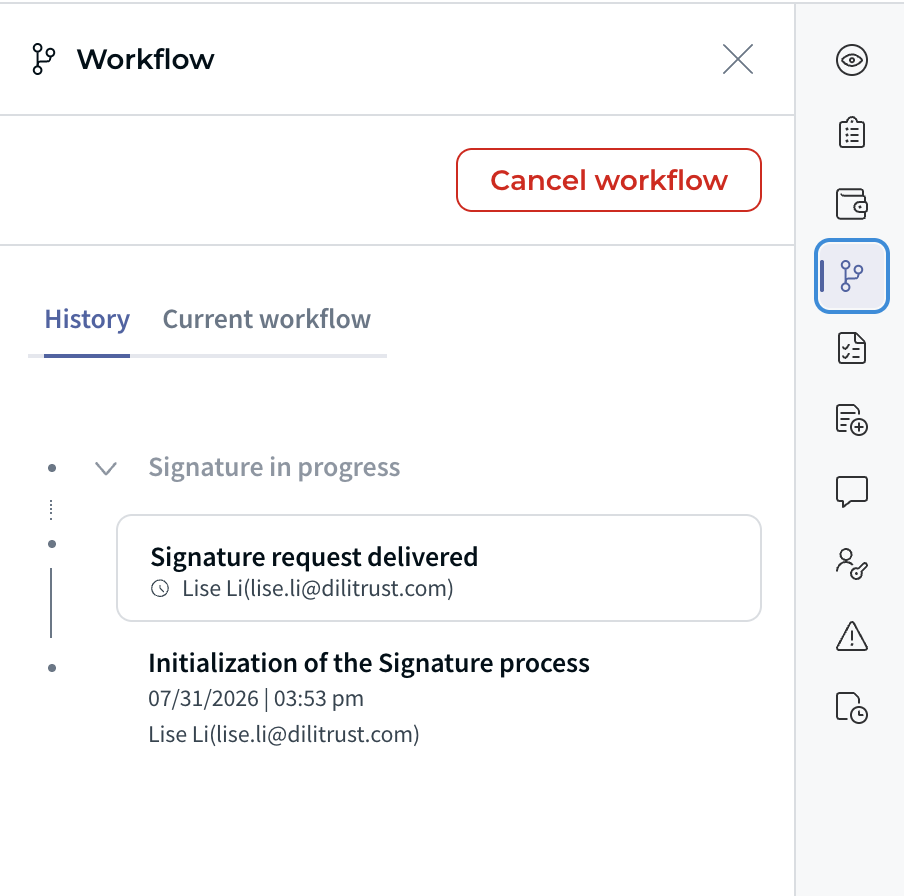
↩️ Withdraw a signing request
As long as an envelope is still pending, you can withdraw the signing request from Tools > Signature tracking. Once withdrawn, the request is cancelled and signatories can no longer open or sign the document.
✅ When the workflow is complete
Once all signatories have completed their action, DiliTrust Sign generates a Certificate of Completion — the legal audit trail of the signing workflow. It includes:
- The identity and email of each signatory
- The date and time of each action (sent, viewed, signed)
- The identification method used
- The IP address and device of each signatory
- The digital fingerprint of the document
The signed document and the Certificate of Completion are stored in DiliTrust and accessible from the envelope dashboard.
→ Learn more about the Audit Trail & Signature Traceability.
Was this article helpful?
That’s Great!
Thank you for your feedback
Sorry! We couldn't be helpful
Thank you for your feedback
Feedback sent
We appreciate your effort and will try to fix the article